Google has its Android Software Development Kit (SDK) which is packed with a lot of utilities that are necessary for application development. Out of all, the important module of SDK is the Android Debug Bridge (commonly known as ADB) and Fastboot. If you are not a developer and a common user and you only want to flash recovery or ROM then these will fit your purpose. These files are readily available as a part of a minimal ADB package which is easy to download and use. So let’s see from where you can download and the most commonly used commands which will be helpful to you.
Steps to Download and Use ADB & Fastboot on your Desktop
Minimal ADB can be downloaded in 2 forms.
- An executable file, which you can install the same way you install any other software.Download the EXE file
- Portable zip, which can be used right after you extract it. Download the Portable file
Now let’s see the process to use the ADB and Fastboot.
1. Enabling USB Debugging:
Firstly, you need to enable “USB debugging” on your device and connect it to your computer.
- To find, “USB debugging” mode you need to enable the “Developer options“.
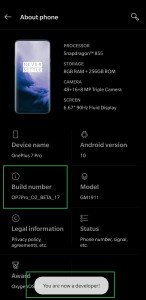
- To get this, navigate to your device information and find “Build Number“.
- Tap 5-7 time continuously on the “Build Number“. Now, you will get the popup message stating “You are now a developer“.

- This has made the setting “Developer options” visible.
- In the “Developer options“, scroll down to find “USB debugging” and enable it.
- That’s it, now you will be able to use the ABD and Fastboot.
2. Using ABD and Fastboot
- Once the “USB debugging” is enabled, connect your device to computer using a USB cable.
- If you are using the portable version then you can directly open the file from that folder, else navigate to start menu and type “CMD” and open the command prompt.
- Next, you need to change the command prompt directory to the folder where ADB is installed. (It’s recommended to install the ADB in C:\ drive.) To do that run the below command:
cd c:\ADB
- Next, to see the device connected to the computer execute the below:
adb devices
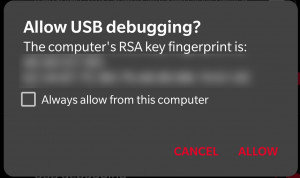
- When you run the command for the first time, you will get a notification on the device to grant permission to allow USB debugging. Click on “Allow” and you check the option “Always allow from this computer“.

- Once you allow it you will get the result in the below format.
List of devices attached
x08355c1             device

- Now you can proceed with the activity you need to perform like, rebooting to the boot loader, unlocking bootloader, flashing recovery, etc. Below are some examples of commands.
adb reboot-bootloader -----> This command will boot your device in bootloader mode
fastboot device  ----> This command is used to see the devices connected in bootloader mode
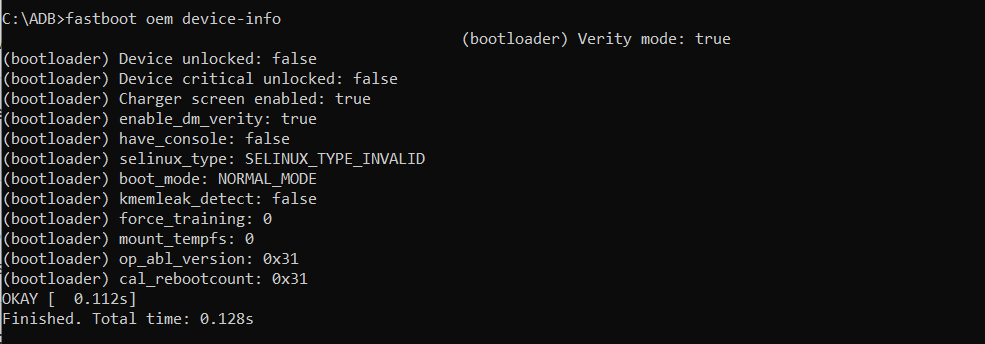
fastboot oem device-info  ----> This command is used to get the device infomarion
fastboot oem unlock ----> This command is used to unlock the bootloader of your device in order to root or flash recovery (some OEM require to unlock code as well so do check your OEM guide before proceeding)
fastboot flash recovery  -----> This command is used for falshing new recovery in replacement of Stock.

Hoping this helps you in getting the basic ideas what is required for rooting or flashing. In case you need any assistance, then do drop a note in the comment section.


0 Comments